|
Friday, September 29, 2006
Binder Clips and Soiled Pants
Posted by Sam at 10:15 AM | tags: apple, life
 I'd like to preface this post by mentioning that I actually constructed and photographed the following project about six months ago... before the addition of the MacBook, and the removal of the 12" Power/iBooks, from Apple's line of laptops. At the time of creation, the 12" 'Book was still available and it was the littlest laptop that Apple had to offer. Anyway, I am just now getting around to writing this tutorial. Yep, I'm just that efficient. Enjoy. I'd like to preface this post by mentioning that I actually constructed and photographed the following project about six months ago... before the addition of the MacBook, and the removal of the 12" Power/iBooks, from Apple's line of laptops. At the time of creation, the 12" 'Book was still available and it was the littlest laptop that Apple had to offer. Anyway, I am just now getting around to writing this tutorial. Yep, I'm just that efficient. Enjoy.
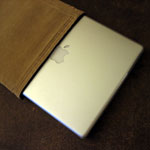
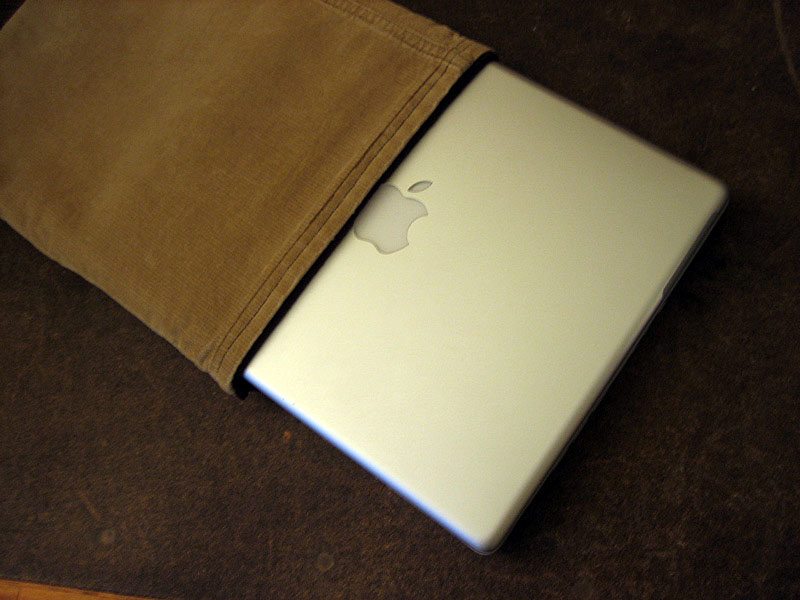
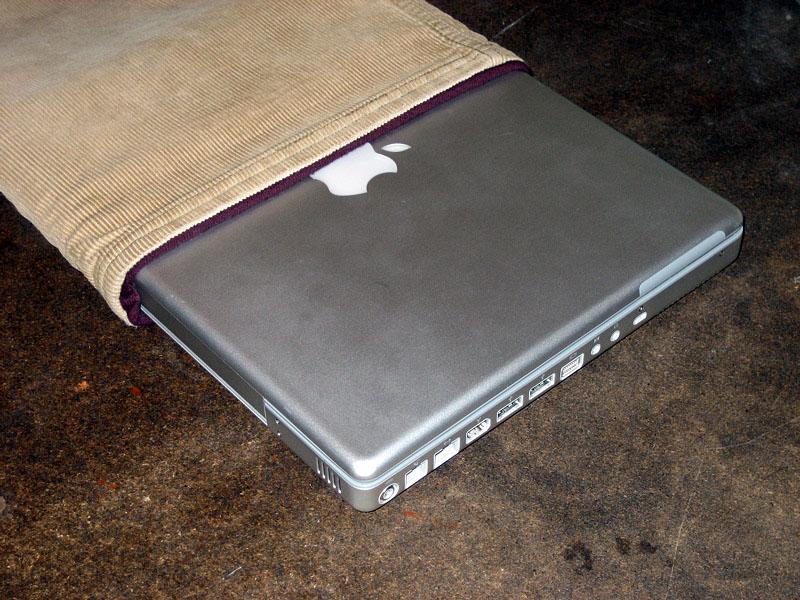
 I'm not exactly sure how I discovered this. I mean, we all know that I love my PowerBook to a frighteningly abnormal extent. But even considering my unhealthy obsession, this discovery is a bit weird: My 12" PowerBook... my 2-year-old, aluminum wrapped bundle of joy... fits perfectly down my pant leg. I'll just let that sink in for a while. I'm not exactly sure how I discovered this. I mean, we all know that I love my PowerBook to a frighteningly abnormal extent. But even considering my unhealthy obsession, this discovery is a bit weird: My 12" PowerBook... my 2-year-old, aluminum wrapped bundle of joy... fits perfectly down my pant leg. I'll just let that sink in for a while.
Right... somehow I discovered that my 12" PowerBook, when inserted lengthwise, fits snugly in the cuff of a regular pair of corduroys. And with this newfound slice of knowledge, the obvious thing to do is to make a stylish, one-of-a-kind, laptop sleeve out of a pair of pants! Yes!
Fortunately, I'm accident prone. No, that's an understatement. I'm an accident magnet. An electromagnet. One of those huge crane operated ones that picks up junky cars and dumps them into that massive car smoosher. Yeah, that's me. I'm that magnet. And those junky cars are accidents. Accidents flock to me like bees to honey... like goth kids to the mall...
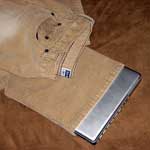
And so, considering my accident pronedness, it should be no surprise to anyone that I stained some corduroys. These cords (nothing impressive, I should add. Old Navy, sporting a standard 20 inch cuff) fell victim to an unfortunate episode of ink stainage. Conveniently, I hadn't thrown them away (I don't throw anything away. Nope. Instead, I make piles. Lots and lots of piles. I told you that I was efficient). So, when I discovered that my PowerBook fits neatly in the cuff of my replacement pants, I pulled the soiled garment from the appropriate pile and began on an irrecuperable quest of DIY self-discovery.
Feel free to follow along at home as I take you from soiled pants to stylish laptop sleeve in just 12 easy steps.
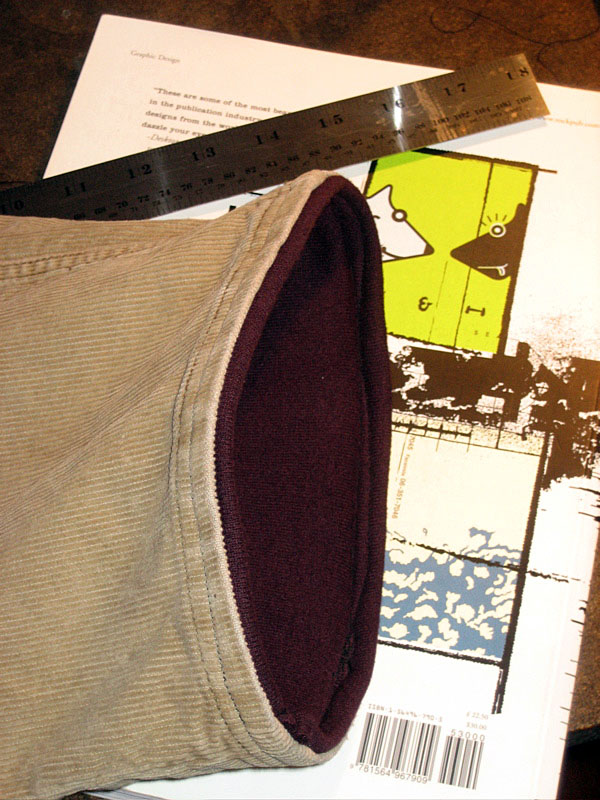
NOTE: My PowerBook clocks in at a height of 1.18 inches, and a depth of 8.6 inches. The new MacBook has a height of 1.08 inches and a depth of 8.92 inches. Let's math that out: The internal perimeter of the sleeve opening for the PowerBook needs to be 19.56 inches. The MacBook would require 19.856 inches. The difference is 0.296 inches... hardly worth mentioning... but I did anyway. My presumption is that this design will work with both the 12" 'Books and the MacBooks too. Simply increase the length of the sleeve and you should be okay. But I can't know for sure. Hmm... maybe I should write a disclaimer.
DISCLAIMER: If this project doesn't work for your MacBook, and you waste valuable time and pants, I can't be held responsible. Sew at your own risk. Additionally, if anything else goes wrong... you sew your fingers together, your 'Book explodes, etc... it ain't my problem. And now, having said that, let's get this party started.
sam bot dot com's DIY Project Tutorial Number Two (there was a tutorial number one?)
Step 1 - Materials
Buy pants.
Step 2 - Preparing the Materials
Stain the pants.
Step 3 - Mental Preparation
Curse the heavens.
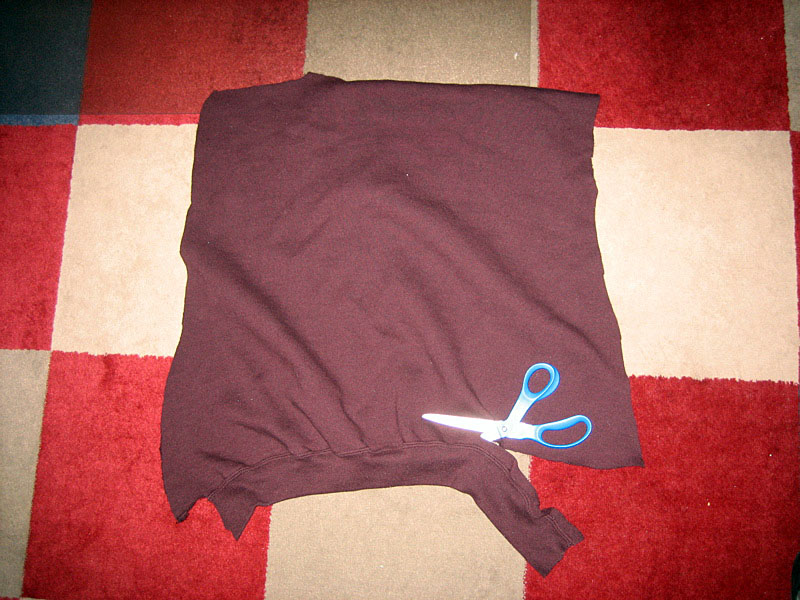
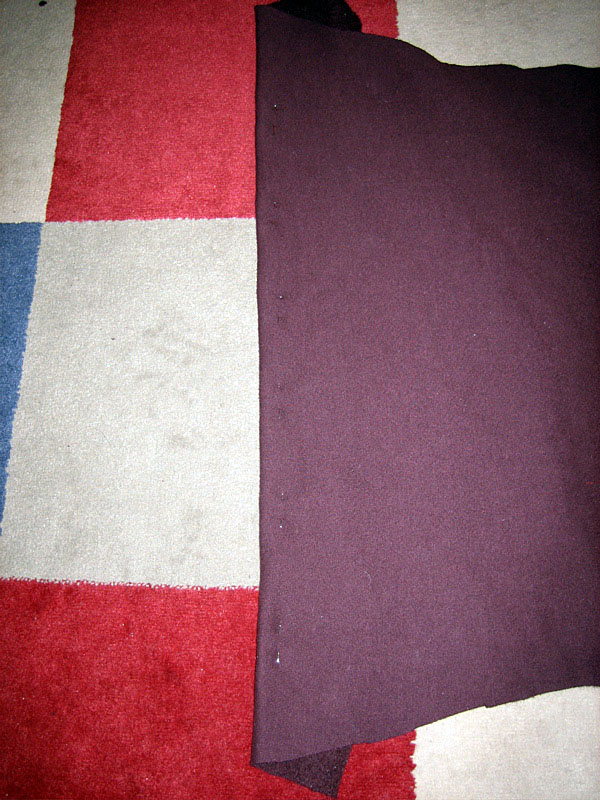
Step 4 - Cut the Liner Material
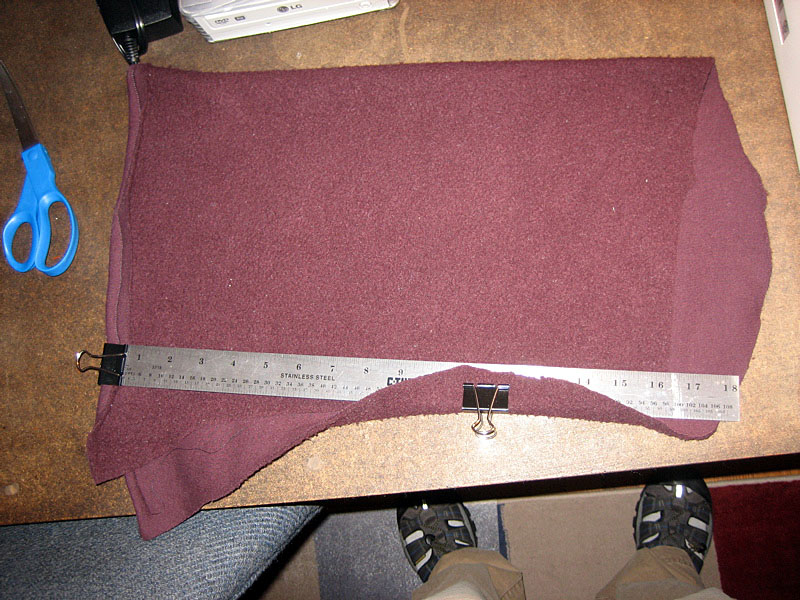
Okay. Let's really get this tutorial started. First, we're going to make the liner. I used an old sweatshirt (also stained) for the liner. It's soft, stretchy, and protective (just like my women), but feel free to use any other similarly featured material that you'd like. Cut out a large rectangular area... something like 22 x 24 inches (use more material for the MacBook)... large enough so you can wrap the entire 'Book in the liner material with a couple of inches to spare.
 
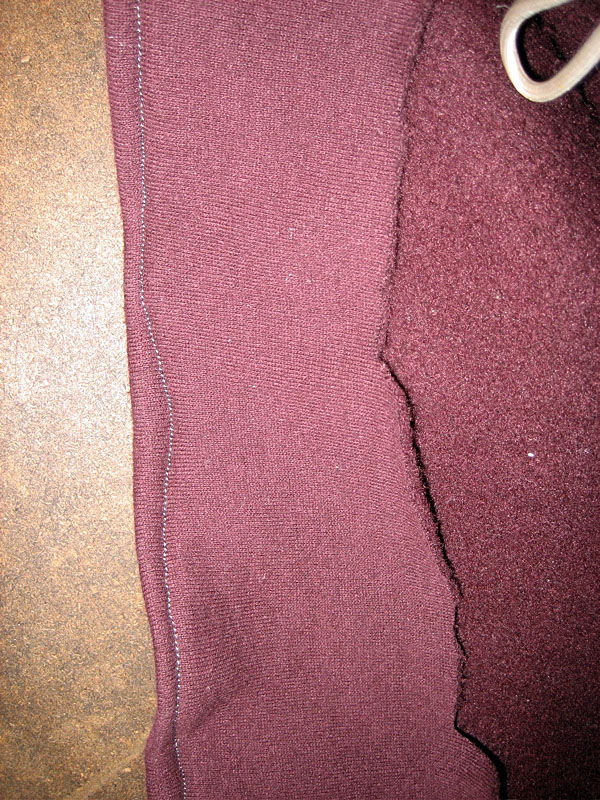
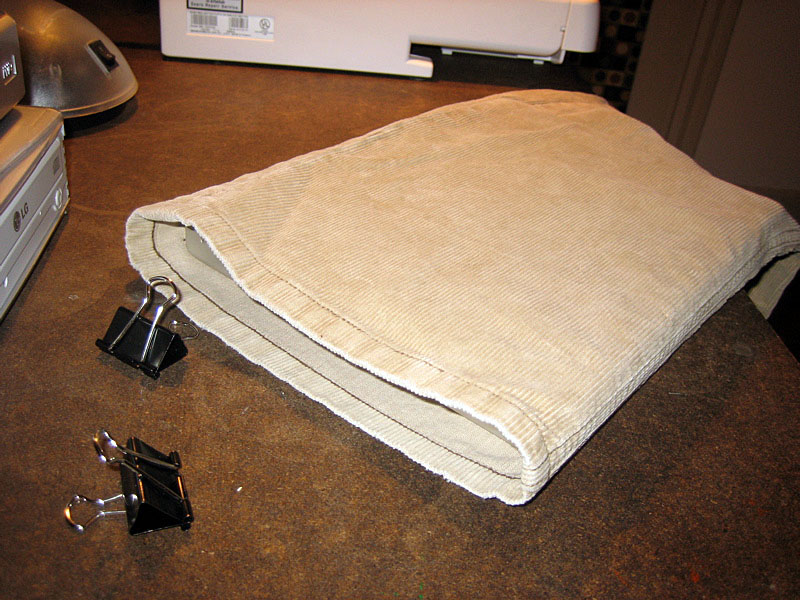
Step 5 - Hem the Liner Edge
Fold over about an inch of the liner material on the 22 inch side (fold so the smooth side will be touching your 'Book). You can safety pin / binder clip / iron the fold to keep it in place. I used safety pins here (this was before I recognized the majesty of sewing with binder clips). Sew the edge and trim off the excess.
  
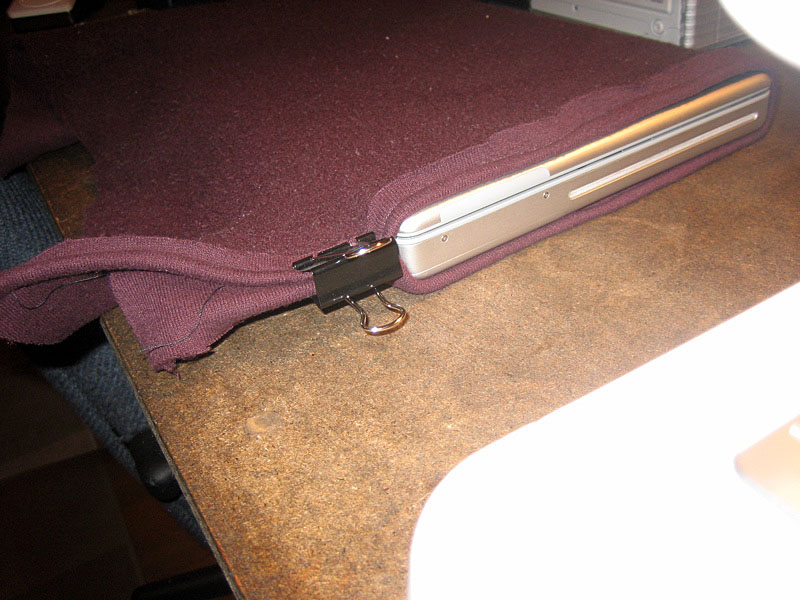
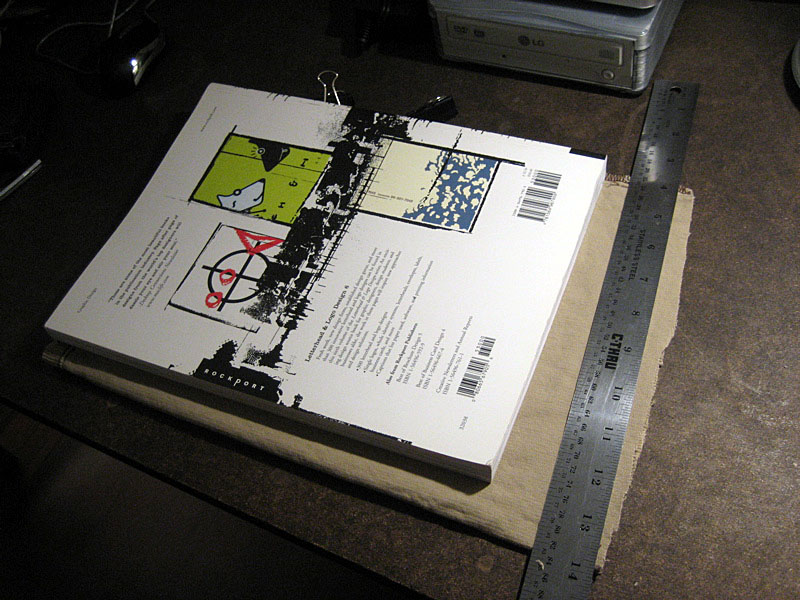
Step 6 - Sew the Internal Side Edge
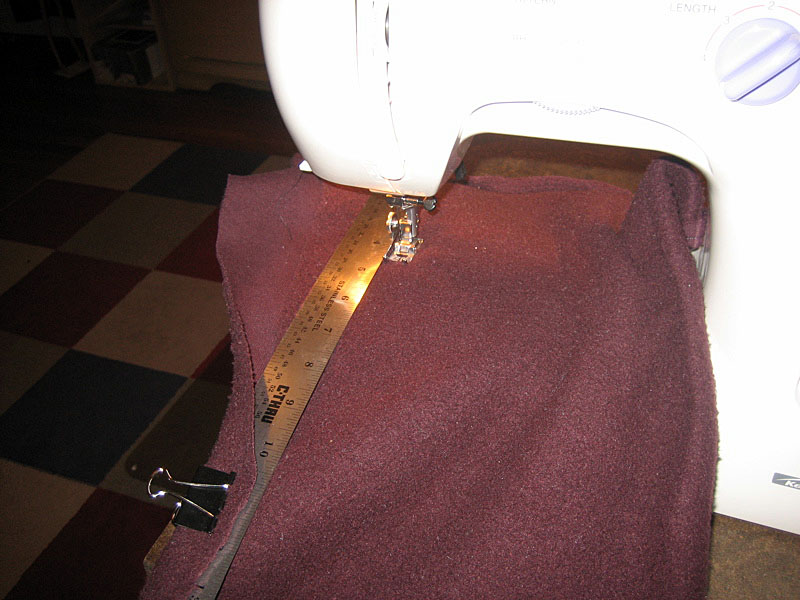
Place your 'Book on the material with the short end against the hem. Fold the material around the 'Book so that it's hugging it as it would when it's in the sleeve. Pinch the top closed with a binder clip and clip on a ruler (or any other straight edge) to use as a guide. Remove the 'Book without moving the guide. Sew along the guide and trim the excess.
  
Step 7 - Sew the Internal Bottom Edge
Slide the 'Book in again. Position it so that it sits right where it would when the laptop sleeve is finished (or maybe just slightly beneath that). Pinch the material at the bottom and clip on that guide again. Remove the 'Book and sew baby, sew! Then, trim baby, trim!
Step 8 - Intermission and Refueling
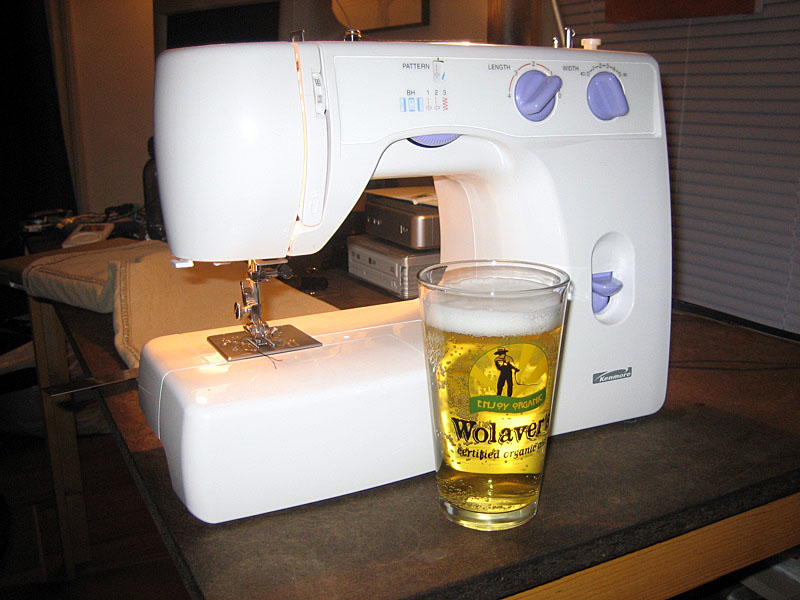
Test out the liner by sliding the 'Book in. Does it fit? If so, go pour yourself a beer... you've done very well so far and you deserve it! If it doesn't fit... see Step 3.
 
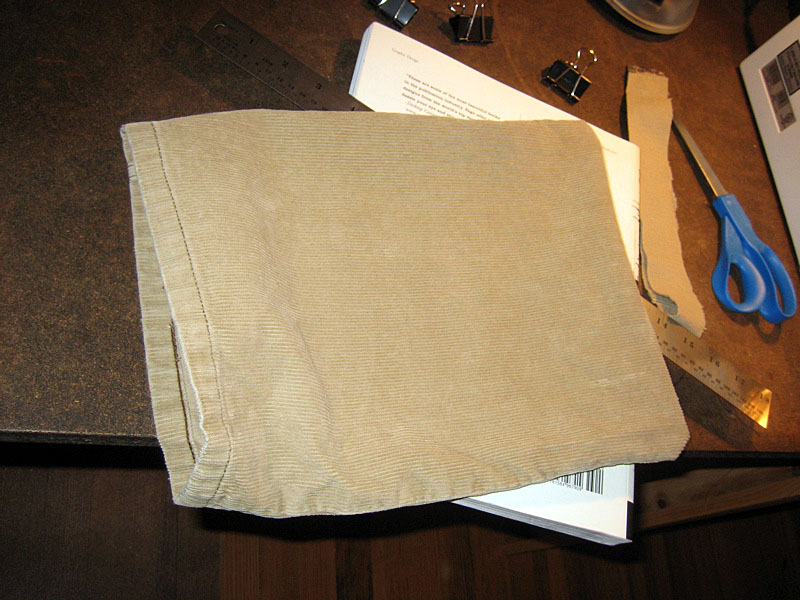
Step 9 - Everything Else
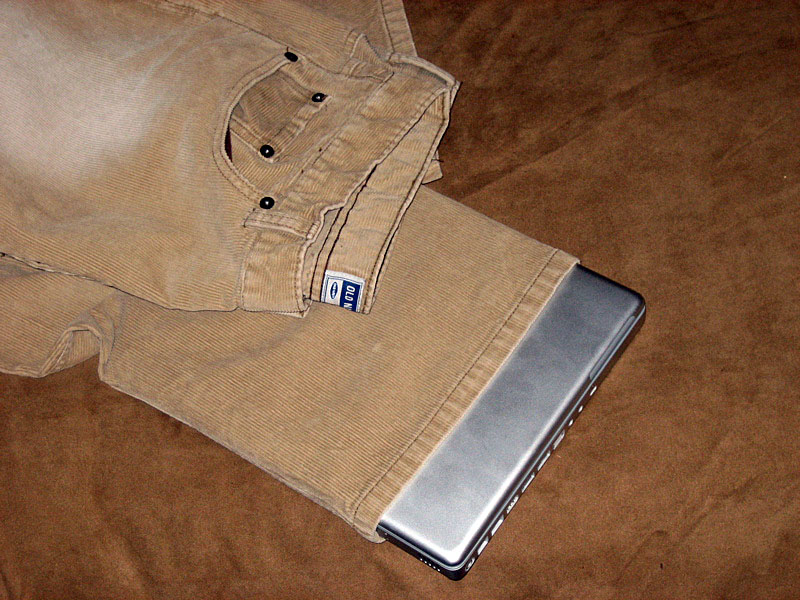
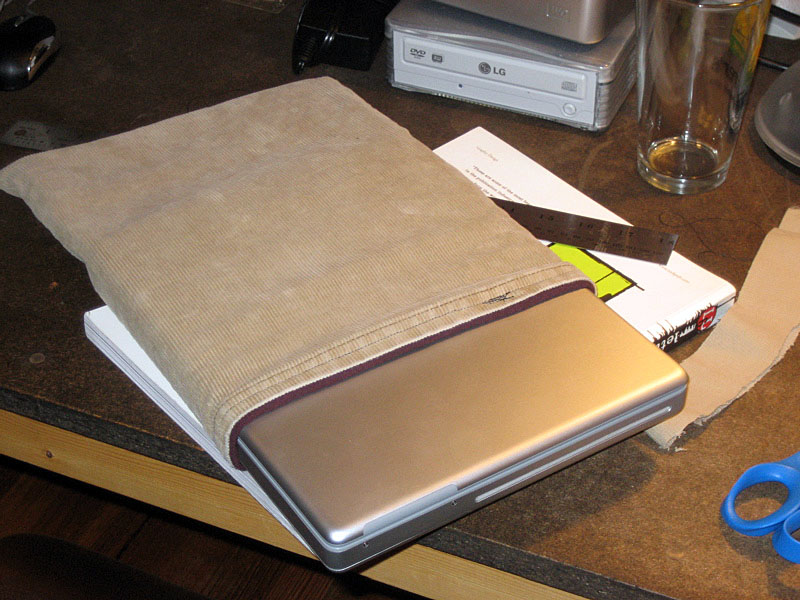
Now it's time to begin assembling the external portion (the part that's made out of pants). Turn the pants inside out and cut off the leg (make sure you leave a couple of inches more than you need... just in case). Slide the 'Book in through the pant cuff. Line up the edge of the 'Book with the edge of the cuff (you might want to recess it about .25 to .5 inches or so... just to give yourself a little buffer when the sleeve is completed). At this point, I think you know the drill: binder clip the guide ruler on, sew, and trim the excess.
  
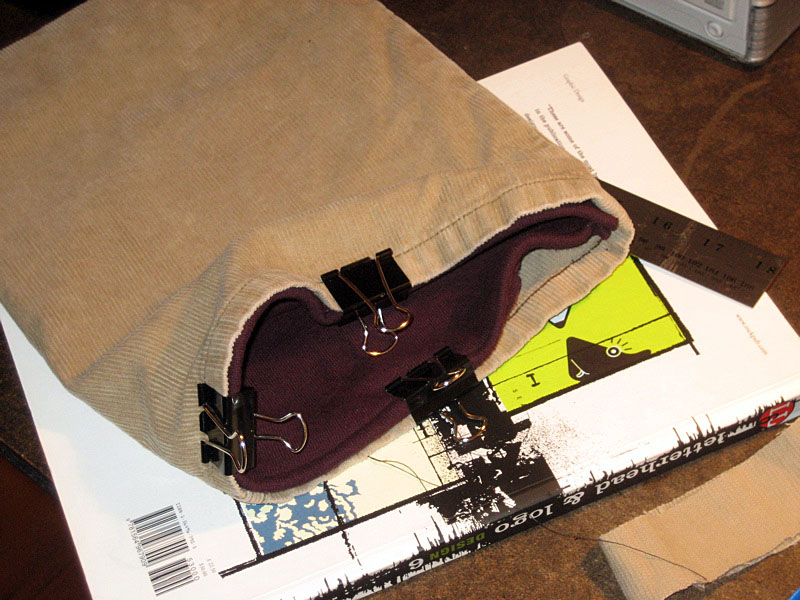
Step 10 - Final Assembly
You're so close to completion. Can you taste it? Can you taste the... umm... completion? Anyway, turn the outer portion right side right, drop in the liner, and binder clip it into place. Now, sew the liner to the outer piece at about .25 inches below the rim of the sleeve. A word of caution at this point: there is A LOT of fabric for the needle to get through. Make sure your machine can handle it. I've got a no frills sewing machine and it did fine. I just had to wrestle with it a bit to get all of the material under the presser foot. So, go slowly. Or maybe go quickly. Build up momentum? I don't really know what I'm talking about. I just don't want the machine to blow up in your face, throwing needle and soiled pant shrapnel everywhere. I guess you need to do what you need to do. And besides, I wrote a disclaimer, so I'm in the clear.
 
Step 11 - Pray
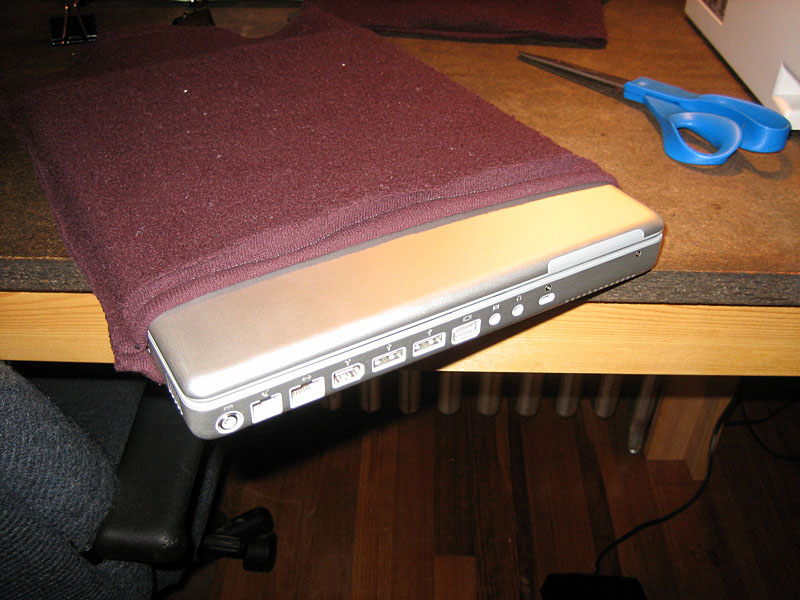
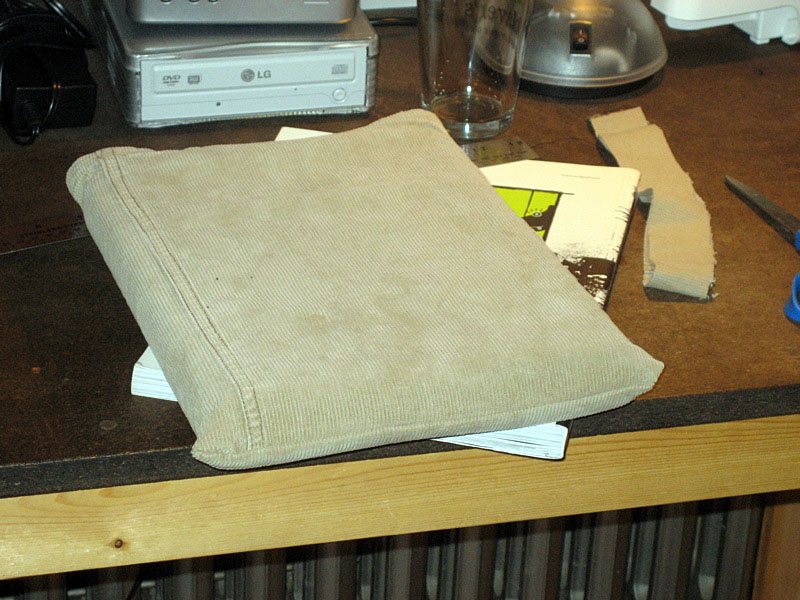
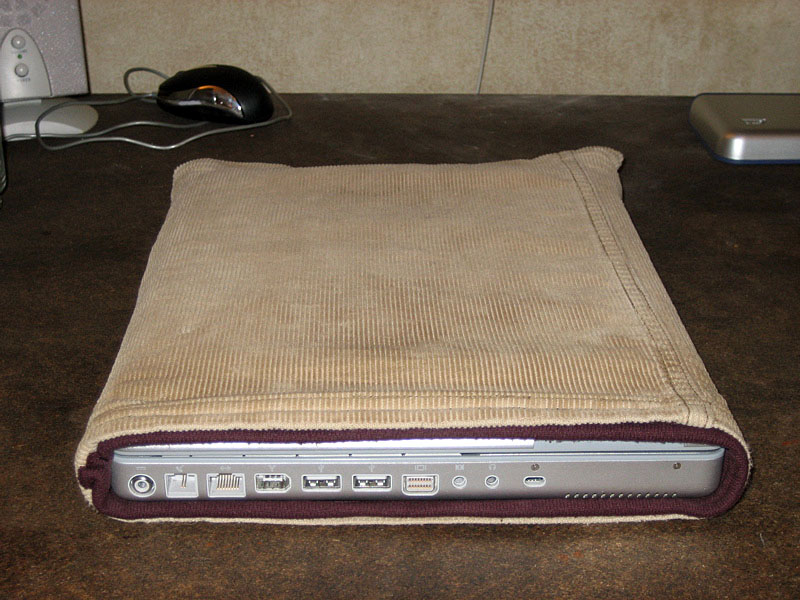
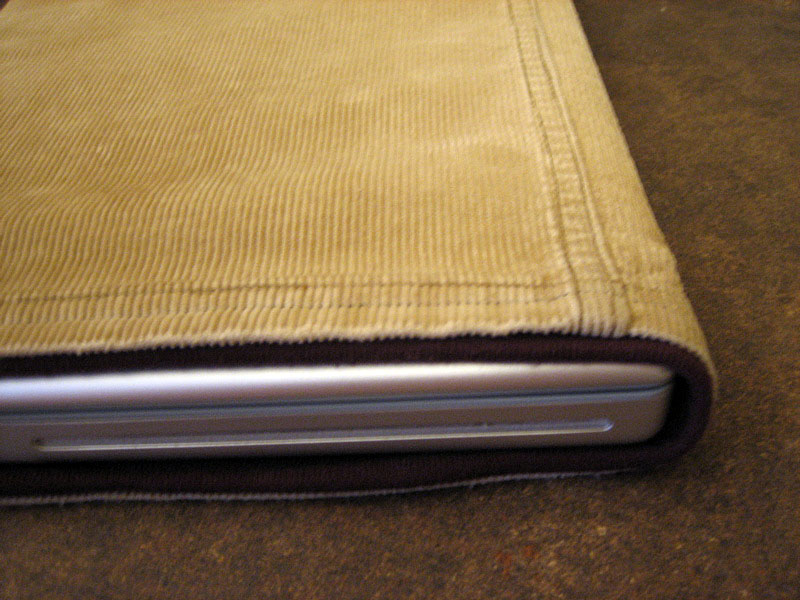
This is it. The moment of truth. Slide your 'Book in the sleeve and observe the results.
    
Step 12 - Victory Dance!
Does it fit? Is it snazzy? Yea! It's victory dance time! You might want to take the 'Book out of its cozy new home and put the sleeve on your head whilst you dance... you know, just to complete the effect.

And there you have it: A DIY protective 'Book sleeve in just 12 easy steps. Geez... is there anything that can't be broken down into just 12 easy steps. I say, "if it can't be compressed into 12 easy steps, it's not worth doing."
UPDATE: I'll eventually start a flickr photo pool to showcase the finished products of those adventurous souls who attempt this tutorial. Keep me posted of the results (in the comments). And of course, feel free to make modifications/improvements as necessary. Good luck and godspeed.
Comments: 19 | Post a Comment | Permalink

jesus christ you are a fucking nerd.
Comment By Dr. Kennedy on September 29, 2006 2:20 PM
Oh, you're just jealous.
Jealous of my extreme nerdiosity...
Comment By Sam on October 01, 2006 5:22 PM
I loved it, digg it here
Comment By Anonymous on October 01, 2006 8:30 PM
Do you still have the remnants of the pants? Because then you could fashion (ha! fashion!) a single button-hook strap to go across the middle of the opening, to keep 'lil book from sliding out and hurting itself...
Comment By on October 01, 2006 8:54 PM
And i'm thinking, those are some wideass pant legs.
Comment By on October 01, 2006 9:22 PM
Now thats inventive!!
Comment By Donovan on October 01, 2006 10:48 PM
Nice! I'll make one for my portable too! Thanks :)
Seb
Comment By Sebastian on October 02, 2006 1:41 PM
that's very cool. i've mailed your tutorial to my girlfriend to create one of these for me ;-)
Comment By Eay on October 02, 2006 3:08 PM
If it can be done in twelve steps, I always do the first three. Curse you, heavens!
Comment By on October 02, 2006 3:27 PM
Great Tutorial! Do you know if the deminsions also work for a 12" iBook?
Comment By David Fine on October 02, 2006 10:51 PM
Actually, famous blogger from w3c Karl Dubost do the same thing, with a blue jean (the laptop is just put in a leg the pants). Very funny and clever, indeed ;)
Comment By palpatine on October 03, 2006 5:34 AM
i made my own sleeve as well. take a look:
http://www.flickr.com/photos/tiboutoo/sets/72057594058049280/
Comment By tina glengary on October 03, 2006 12:58 PM
Sam,
Aren't you supposed to be going to school? When do you have time for this? Why did you take my pants? Now...now I must walk around sans pants. And you know how much I hate that...
At least you used them for good, not evil.
Comment By Blackwatch on October 03, 2006 4:11 PM
very cool.
Jagi
Comment By Anonymous on October 03, 2006 8:53 PM
Great tutorial! I'm going to run downstairs with the scissors and make one for my nano out of my old corduroy shirt pocket.
Comment By Jay on October 04, 2006 4:17 AM
Hey y'all... first off, thanks so much for all of the praise and attention! You guys rock!
And now, to answer some of your more pressing questions and to respond to some of your more thought-provoking comments:
1. Yes, I'm a nerd. Unequivocally and unabashedly.
2. Yea! Digg me!
3. A handle or a strap to keep the 'Book in its home? A great idea! However, my PowerBook fits pretty snug in the sleeve as is.
4. The cuffs of the pant legs are a standard 20 inches. It seems big when flattened out like that.
5. I'd assume the that the sleeve will work with the 12" iBooks too. Weren't they the same size?
6. I sure am going to school... this is all about my need to procrastinate.
7. Your pants!? I assure you, I did not take your pants... Blackwatch, the last thing I want is to encourage you to be pantsless.
Anyway, thanks again, peeps!
Comment By Sam on October 04, 2006 11:45 AM
Hey! I found my pants! I was wearing them the whole time!
I forgot to say, I like your project. Good work, man.
Actually, I remember, back when you lived in NOHO, you discussing a very similar project, except you were going to buy corduroy separately. This seems to work out even better.
Cheers!
Comment By Blackwatch on October 06, 2006 10:03 AM
Heya, you've inspired me to create my own 'pant' sleeve for my Macbook. here are the results.
Comment By Jonathan Langdale on October 14, 2006 4:29 PM
I'd like to thank you for the great idea to make the MacBook sleeve. I was looking for a durable sleeve online and they all were too bulky or ugly, but yours looked awesome! I bought fabric for $5 CND (which is probably cheaper than a pair of pants) and got to work. A weekend later...a very snazzy case! One thing I did was I left the excess fabric on the seems on, which makes some padding around it so it absorbs some of the bumps and stuff.
If you want to check out some pictures of it there are some on my website:
http://jole.ahtr.net/gallery/index.php?album=MacBook
Comment By Joel on November 13, 2006 12:21 AM
|


 Sam is an amazing and humble guy. Once, he rushed into a burning building, up six flights of stairs to save a kitten from certain death. He speaks eight languages, has mastered three varieties of martial arts, is a wine expert, and is a pulitzer prize winning author. Sam is an international heart-throb who prefers a quiet evening at home knitting afghans for the homeless, to the go-go, glitz and glamor of the party scene. I think the day he won the silver medal for ballroom dancing at the 98 olympics was the happiest of his life. Pretty impressive for a guy who never finished the 8th grade. - Carrie, 04